If you would like to skip the unboxing and jump straight to the IN USE review, click here
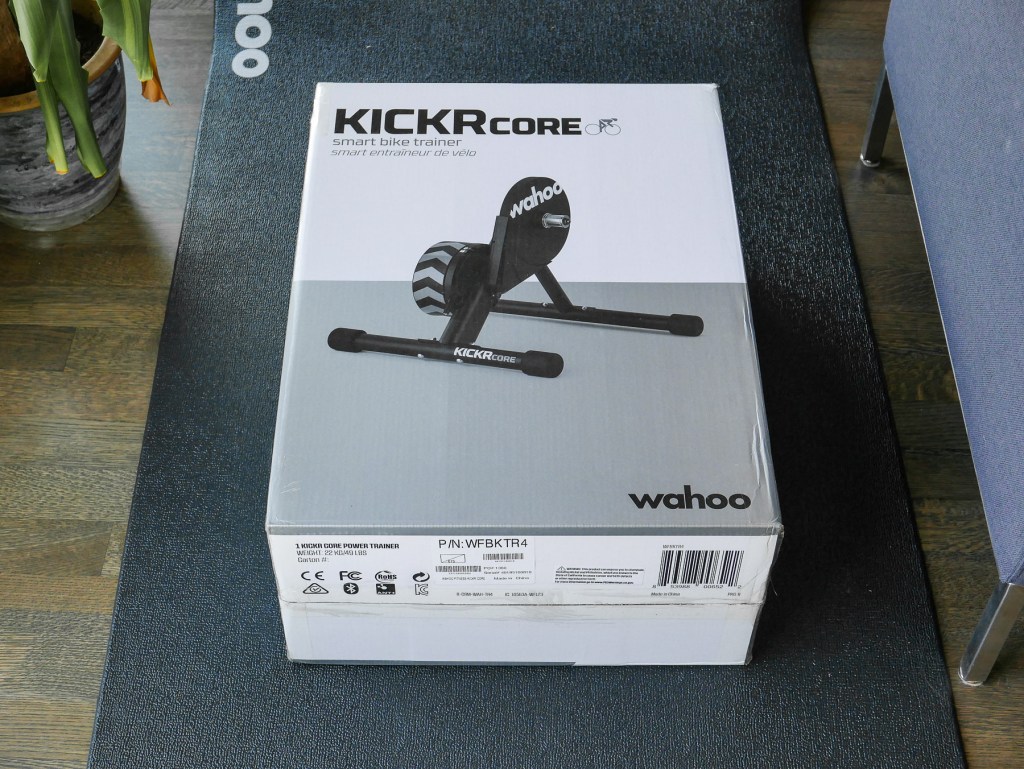
Most of us into cycling have heard of the Kickr trainer. A lot of us know that there are expensive training toys that are beyond our reach since their top of line gear is thousands of dollars. The Kickr Core is positioned as one of those mid point toys, a step down, not super expensive but still expensive. This mid landscape of smart trainers is very popular and seems saturated with $600 to $900 unit, so this falls on our product radar to judge the value of. The core is $899


Out of the box
The unit is packed very well. Its a cardboard outer and a foam inner. It’s hefty at 49lbs but the company spent good money on a custom packaging insert to protect and hold the components in shipping.

Contained in the pack are the main unit, adapters, bolts, tools, electricity cords and front and rear legs, along with a quick start guide. Everything is nicely packed.
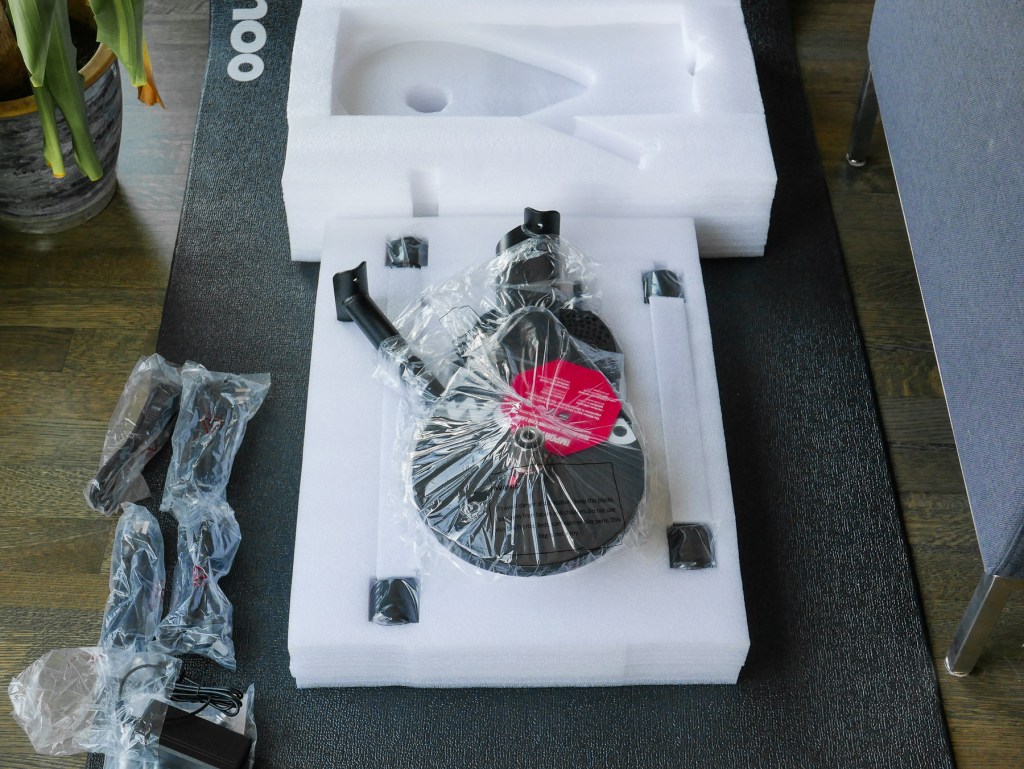
You will notice that supplied are 4 electricity cords! (to the left of the above photo) yes 4! US, UK, and two EU cords. I find this pretty annoying, yeah I understand why they do that because the product is shipped straight from China headed internationally, but it rings of wasteful as instantly you have to dispose of 3 cords.


My second gripe here is that I wish Wahoo had designed this padding / protection with a more sustainable material. The current foam is hard to dispose of and pretty much landfill. Perhaps card protection could have been designed?
One thing to note is that with this trainer, you have to purchase a separate cassette. It’s not supplied. I anticipate this is a good idea due to the many variations and preferences. Additionally you will need to purchase an XD/XDr adapter if you are using XD or XDr cassette. (more on this later on)

- Box contents:
- Main unit with Shimano freehub body
- Front (wider leg)
- Rear Leg
- Bolts and caps for legs
- Power Supply
- Axle adapters for 130,135,142 and 148mm
- QR Steel skewer
- Cassette Spacer
- Wrench
- Instruction Manual
- 4 Power cords
Size & Folding


Construction & Assembly

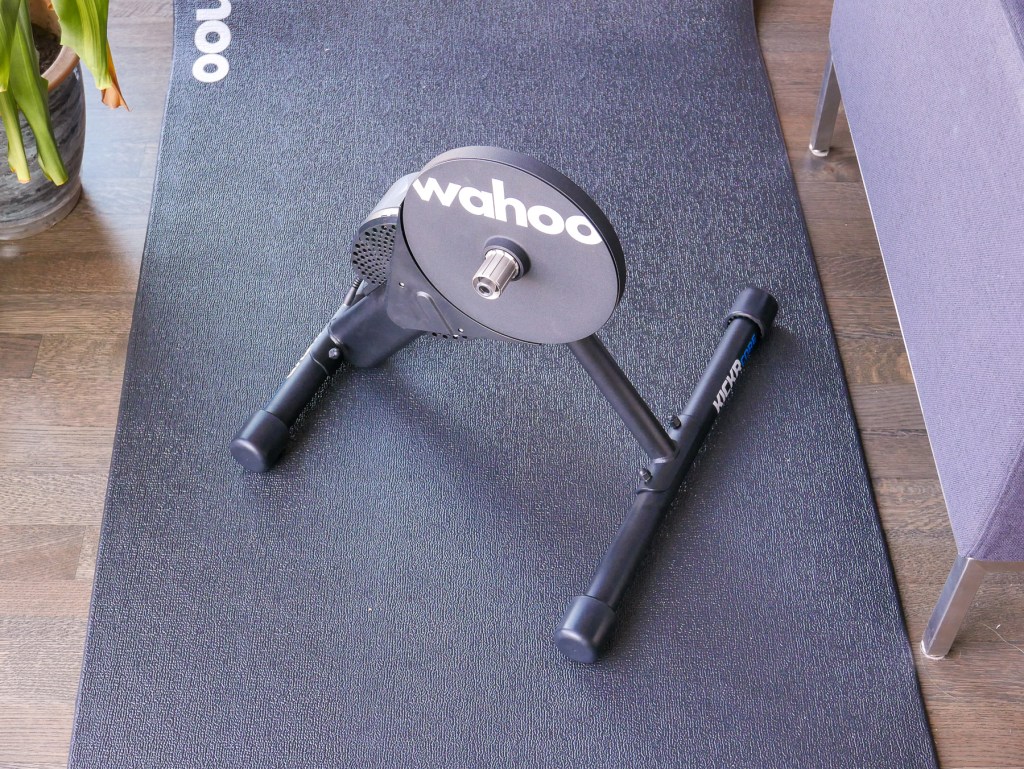
To set up the Kickr, you simply need to install the legs and a cassette and you are very close to finished. The legs bolt on to make a sturdy structure, the front leg is wider for stability. The Kickr frame is made out of heavy powder coated steel. The welds look burley and strong and the unit is heavy.


The legs simply bolt on with the tool is provided. Inside of some of the steel tubes on my unit looked a little orange ish, this is rust. Probably just light surface rust and it shouldn’t worry you if it looks like or less than one in my photo. More than this and you should probably contact Wahoo.

The flywheel and electronics are housed in plastic. In Wahoo fashion, the plastic is not of exceptional quality, sink marks can be seen in the material, but this doesn’t affect the functionality. Two led indicators, one for Bluetooth and one for ANT, showing you the Kickr is connected. (lights flash when seeking and stay solid when connected)

Also on the back of the unit is a small pigtail for the electricity cord. This lets you disconnect and helps with cable management to and from the wall socket.


Installing the Cassette on the Kickr
This is pretty easy, but you need a few simple bike specific tools, or you could take the Kickr and Cassette to the bike shop. and they would put it on for less than $10.

You will need a cassette (I chose a mid grade road model, but you can spend more or less, scroll further down to see XD setup), a wrench and a cassette tool like the Park FH-5 (link) which is for Shimano / SRAM Splined cassettes.

Tip the Kickr on its side, align the splines on the kickr and notches on the cassette. Slide the cassette on, insert the lockring, insert the tool and tighten down. Done.

Note: If you want to remove the cassette you will need something to grab it – a chain whip (link), (since the cassette rotates the same direction as removing the lockring ), Alternatively your bike shop can do this also.
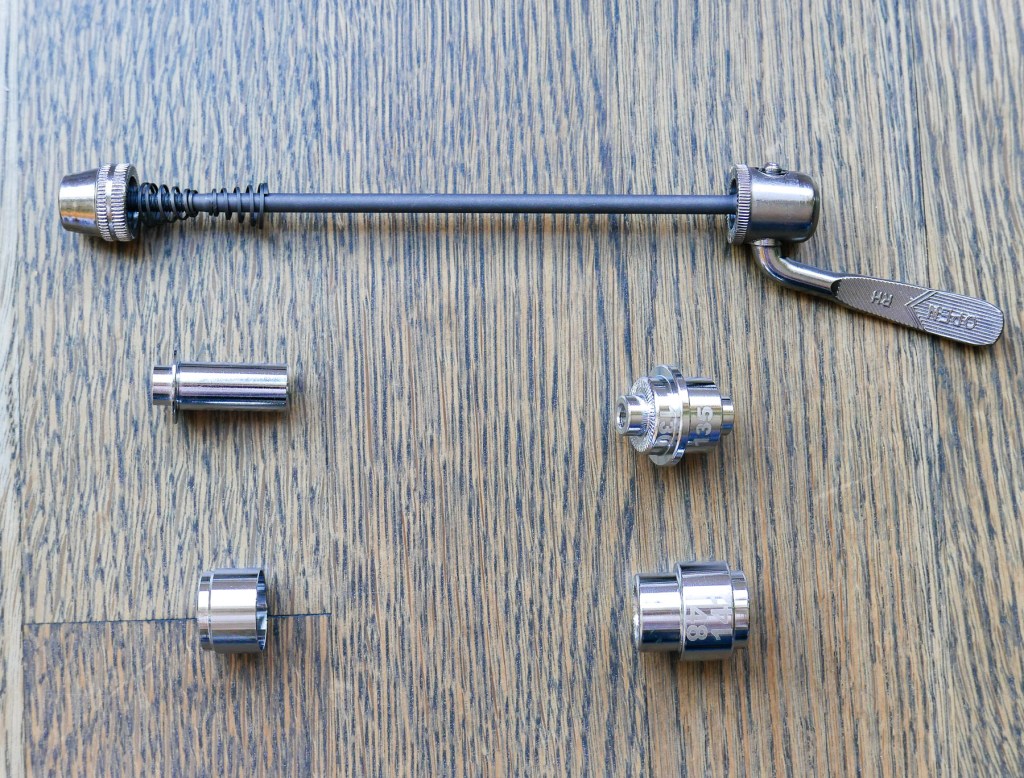
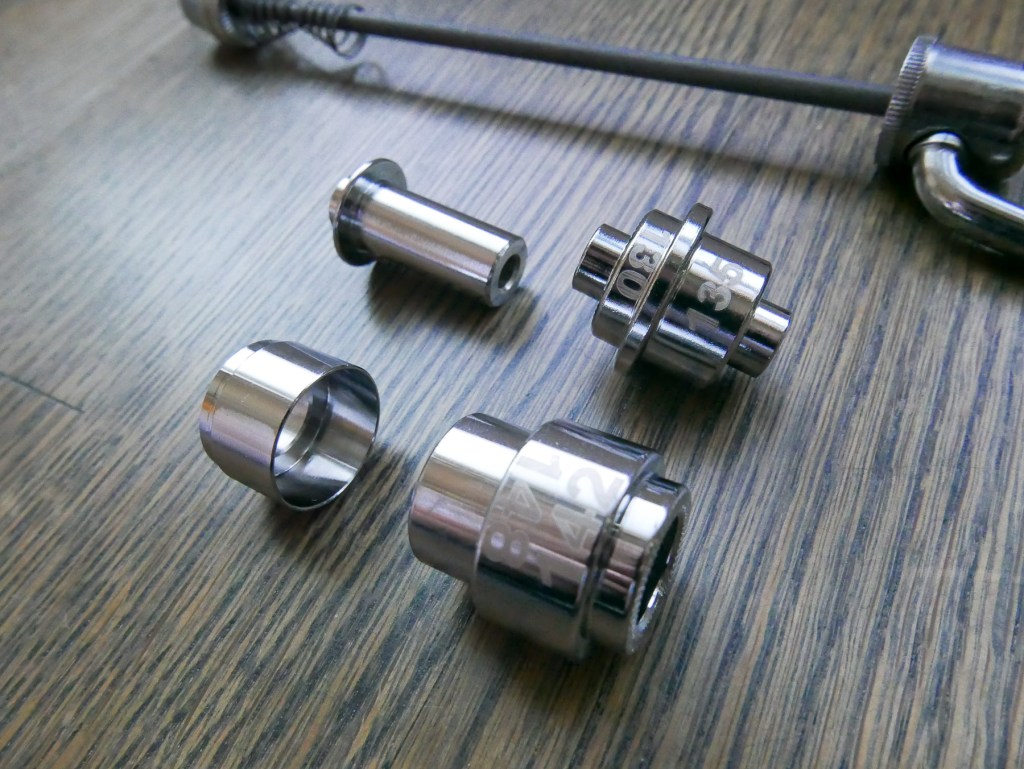
Installing the correct axle adapters
Since your bike attaches to the Kickr directly without the rear wheel it’s important to know your bikes specification.
Axles can be confusing, but basically the dimensions reference the width of the metal shaft that attaches your wheel to the frame.
The Wahoo Kickr comes with several adapters to fit a range of axle spacings. This is nice as some companies require you to purchase aftermarket kits.
- 130 mm Quick Release (older road standard)
- 135mm Quick release (older mountain standard and some lower end gravel bikes)
- 142mm through axle which is pretty much the new standard for Road and Gravel bikes
- 148mm thru axle which is the standard for mountain bikes nowadays. The adapters fit into the hole left and right on the Kickr where you attach your bike.
Most bikes nowadays are coming with a 142mm x 12mm Rear Thru (screw in) Axle, Most mountain bikes are 148×12.

Switching a Kickr to XD or XDr ?
Not a problem, the Kickr doesn’t come with one but you can buy a freehub converter for $70. Takes a couple of tools, so add another $30 – Wahoo show you how to do the install here

https://support.wahoofitness.com/hc/en-us/articles/360006297940-SRAM-XD-XDR-Freehub-Installation-
And you are done – Easy! time to ride the bike!
jump to my eight weeks in use review of the Wahoo Kickr Core… here:
Discover more from Buckyrides
Subscribe to get the latest posts sent to your email.

Are you sure about that foam, or are you just assuming it’s not biodegradable? They make that stuff out of soybeans now. Most of it is quite degradable.
LikeLike
It was not the biodegradable / compostable kind. There could have been another story there as to the material but there was no labelling or indication that it could be saved from a landfill. It was well designed and substantial and certainly protected the product though.
LikeLike
What is the diameter of the tubing used for the front and rear base? I want to buy mounting brackets for my rocker plate before my KICKR arrives. Thanks,
LikeLike
40mm OD
LikeLike
I’m wondering if i should upgrade my Kickr 2017 to the new Core. My Kickr 2017 will not accept the newer axel’s. 142 and 148, There is a big sale going on now for a climb and the Core
LikeLike